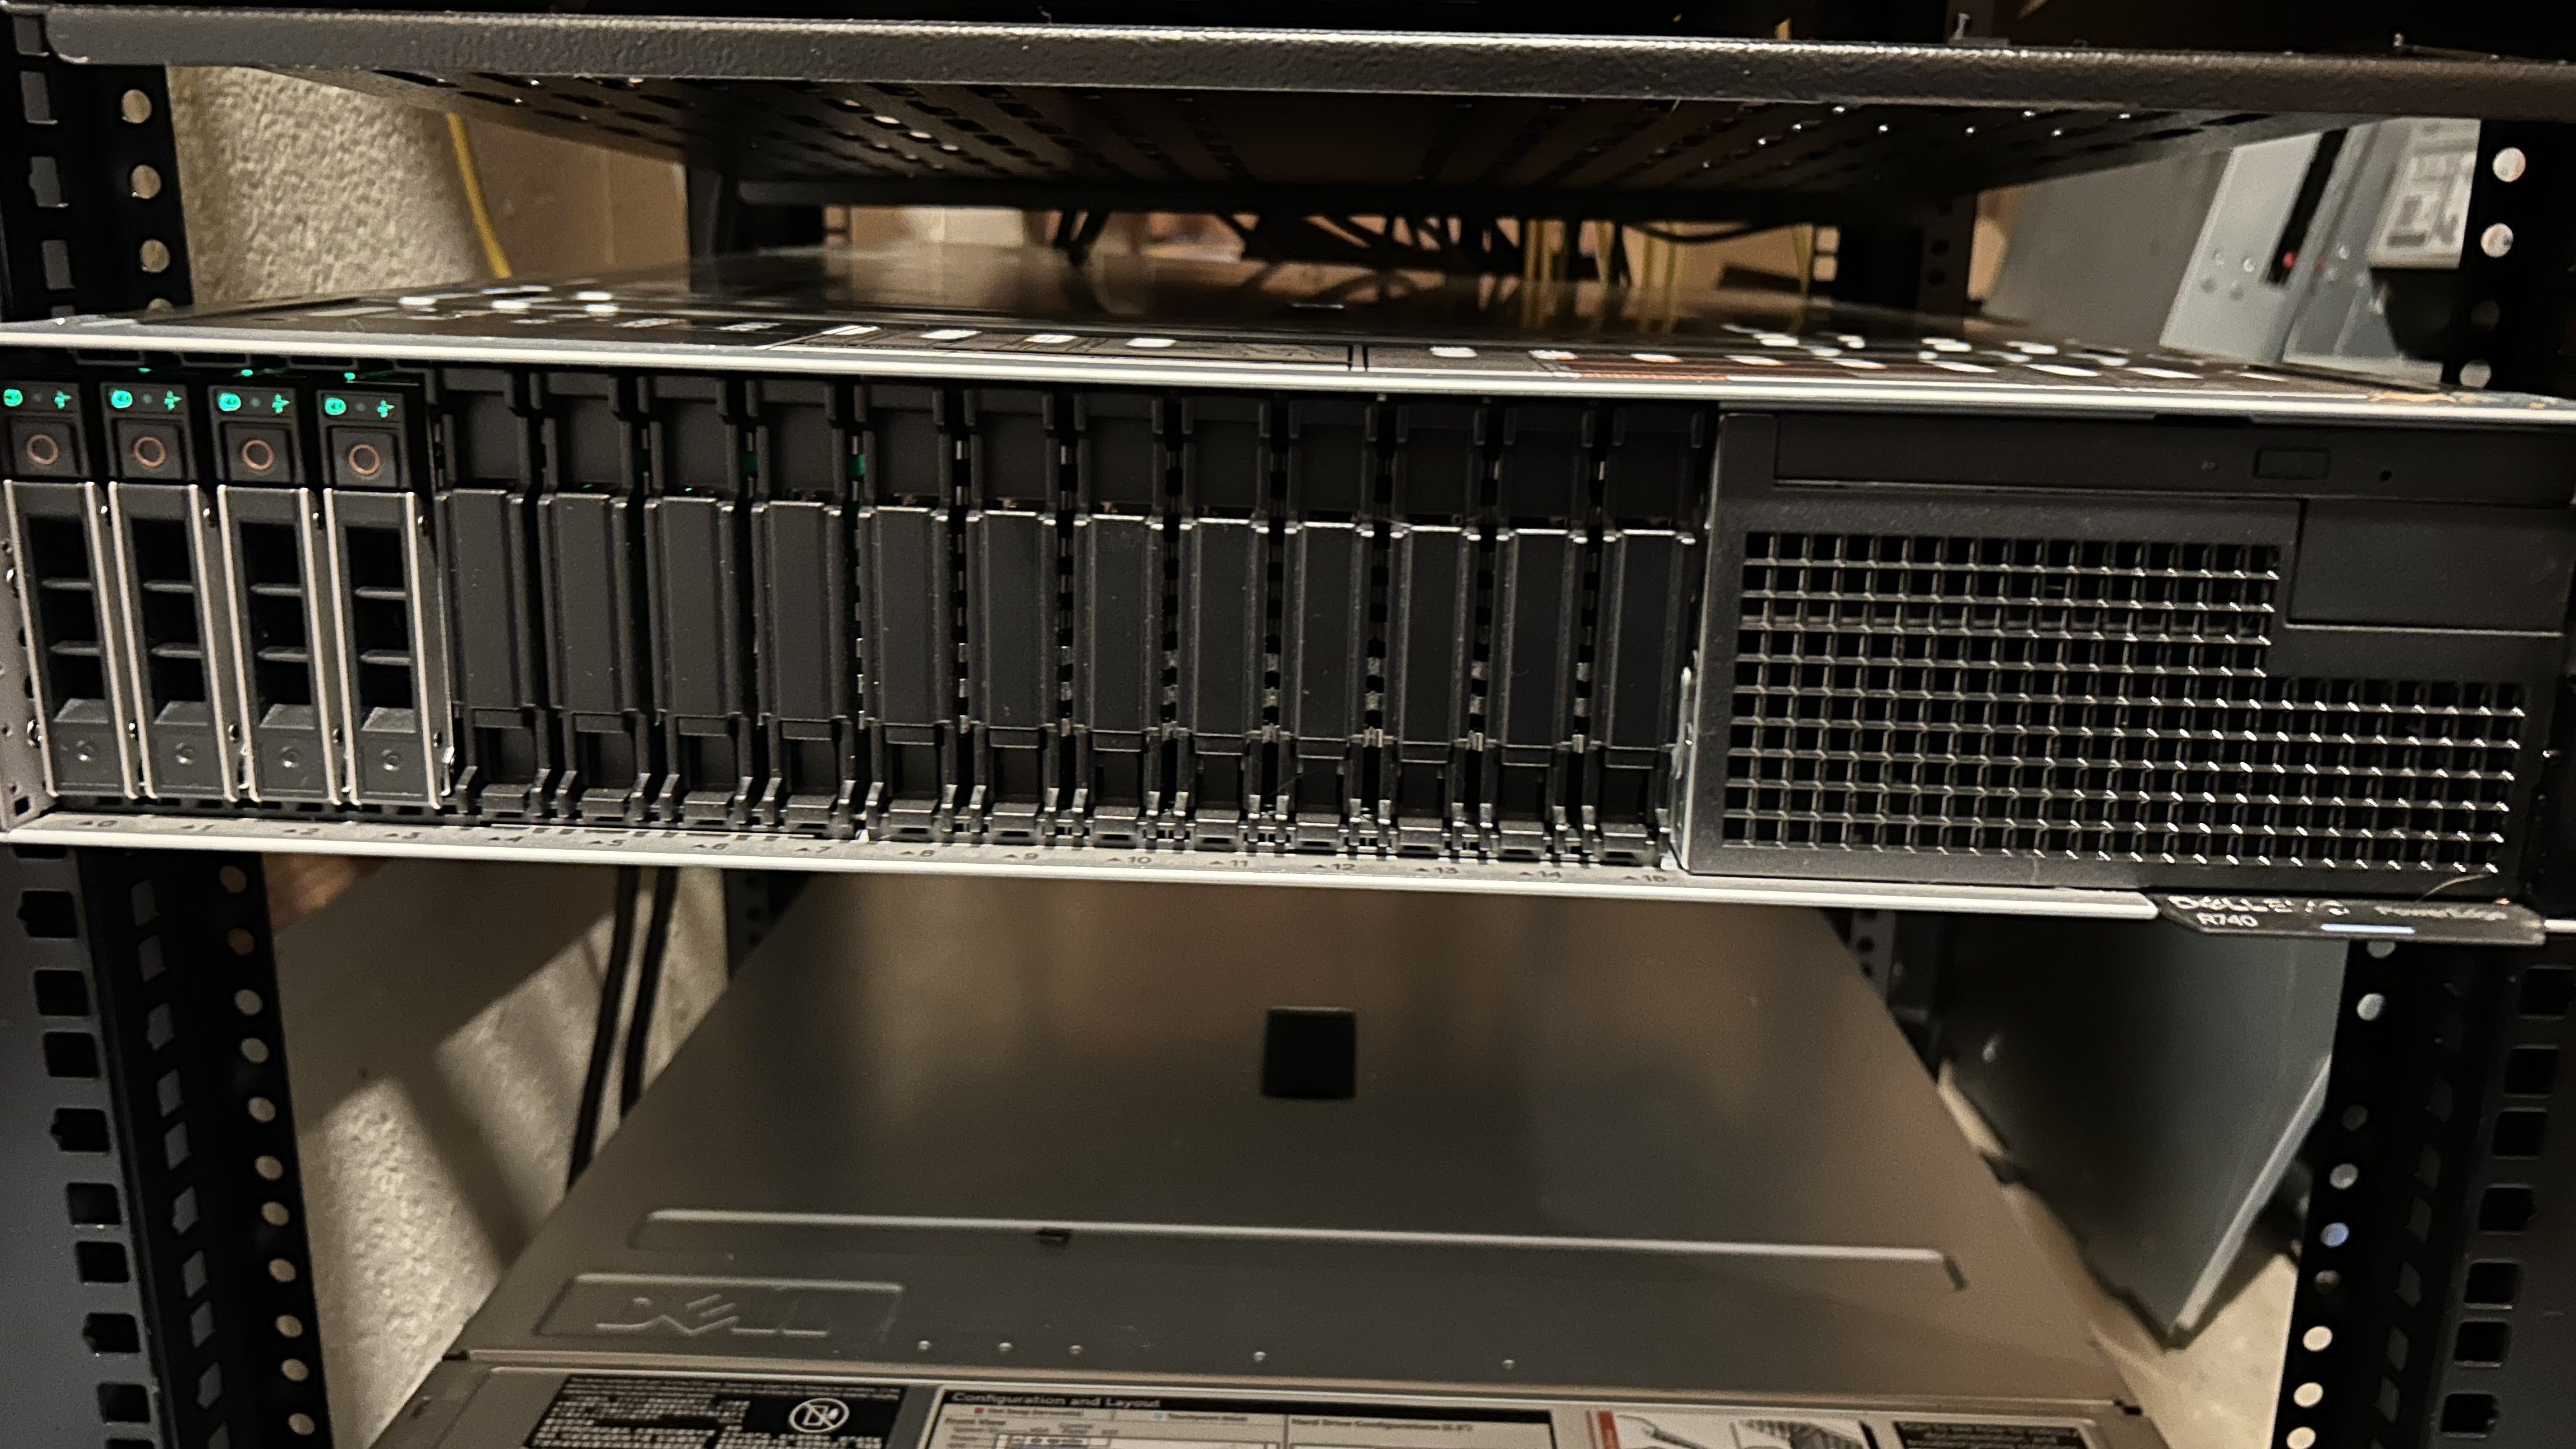
Since the goal of my home lab is to learn about multiple different hypervisors, and be able to run at least two different hypervisors at the same time for testing, I am using older server grade hardware instead of the more commonly used desktop hardware found in a homelabs for a few reasons:
- VM Density: To run nested hypervisors VMs/clusters, and to run VMs inside the nested hypervisor clusters, you will need a lot of compute. Even 10 year old server grade CPUs will allow for snappy nested hypervisors with VMs running inside those nested hypervisor clusters.
- HW RAID Controllers: Older servers were designed for high throughput and often come with a HW RAID controller meant for high performance. If your nested hypervisor clusters have many features turned on, and test VMs running inside, you will need low latency storage. You will not want to use a customer grade home NAS, and even one running at consumer grade 10G may feel too slow or provide too high of latency. The physical storage requirement isn’t high, but the storage latency is what’s important. The same holds true for SW RAID like MDAM or ZFS. Having a few SSDs in HW RAID will make the nested environments feel almost like they are physical hypervisors on real gear, and even older HW RAID controllers and SSDs will feel snappier than SW RAID.
- OOB Management: Having the ability to use an IPMI of some type to get to the lab server hardware to power it on/off/mount ISOs remotely will save you a ton of time.
- Multiple NICs and 10G: Most used servers will come with multiple 1G and 10G NICs ports. You will want at least 1x 10G NIC port for all your nested VM vNICs to perform functionality testing since it will feel very slow at 1G. With 10G you will be able to run VLAN tagging, bonding, etc inside the nested VMs to mimic a physical network setup. I will review network hardware in a follow-on post, but even just a single 10G NIC port plugged into a single 10G switch port will make the entire nested environment feel much snappier. If you don’t have any 10G networking you can even just leave the 10G port unplugged, run all the VMs on it, and use a simple VM to bridge the 1G to 10G network inside the server to provide outbound connectivity.
- Cost: This may not hold as true anymore in 2026, but in the past buying used servers and used components often came out far cheaper than a densely build custom desktop.
For my specific lab hardware I am using a PowerEdge R740 as my main nested virtualization server. I went with the 2U R740 since I have found that in general 2U severs run much quieter then 1U or blade servers. Even under heavy load the sound of the fans is not very noticeable.
Here is a breakdown on my R740 for reference:
- R740 16 Bay SFF 2U Server
- 2x Gold 6142 (16c, 2.6GHz)
- 672GB of memory
- (Mix of 16GB and 32GB DIMMs, you don’t need this much)
- 2x 120GB BOSS in RAID1 for the OS drive
- H330 RAID card with 4x SSDs I’ll be placing into a RAID10 volume for VM storage
- Intel I350/X520 NDC (2x 1G + 2x 10G SFP)
- iDRAC 9 Enterprise for remote management
The rest of this post will cover the basic hardware configuration I applied to my R740:
Setup iDRAC OOB MGMT
After you have powered on your PowerEdge server for the first time you can easily get into iDRAC before you have the IP address set by using the Micro-USB port on the front to access “iDRAC Direct”:
PowerEdge: How to Use the iDRAC Direct Feature | Dell US

This will allow you get into iDRAC without needing a monitor and keyboard connected, just plug a laptop into the USB port. Then you can use your laptop web browser to launch iDRAC from https://169.254.0.3. Most likely your used server has been reset to factory settings so the iDRAC password is most likely root / calvin. If that does not work you will need to reset it following these directions:
PowerEdge: How to Reset the Integrated Dell Remote Access Controller (iDRAC) | Dell US
Once you are logged into iDRAC up go to iDRAC Settings -> Connectivity -> IPv4 Settings to set you iDRAC static IP:

Also make sure your iDRAC is using the “Dedicated” iDRAC NIC port that your server should have on the back:


Plug an ethernet cable into that port and you should now be able to get to iDRAC over your network.
Update Server Firmware
Now that you have iDRAC setup and on your network we can update the server firmware/bios since there is a good change your used server hasnt been updated in a while.
Navigate to Maintenance -> System Update -> Manual Update:

Im going to update directly from the Dell servers to the latest versions, so change the location type to HTTPS and choose the recommended location and click Check for Update:

Once its done scanning you can select all the updates found and install them:

You watch the progress of the update from System -> Job Queue:

Wait until the updates are completed before continuing.
Setup the Virtual Boot and Data Drives
After the update we can move on to configuring the boot and VM storage. In my config the 2x 120G BOSS drives are setup in a RAID1 virtual disk, and this is where my base hypervisor will get installed. My 4x SSDs in the front will be used to create a RAID10 virtual disk, and this will be where I store all my virtual machines. If you have a RAID card that only does disk passthrough (No-RAID), no RAID card at all, or no BOSS cards that is OK. I have found that using the SSDs as individual disks if no HW RAID is available is far faster than any form of software RAID/ZFS for nested environments so you can skip this section and set them up later when you have installed the hypervisor:


You can create the virtual drives from iDRAC under Storage -> Virtual Disks, or from the BIOS directly using the Virtual Console if you are used to the older BIOS style interface.
Check and Enable Virtualization Technology
Next navigate to Configuration -> BIOS Settings -> Processor Settings and make sure the Virtualization Technology is turned on as this is the CPU extension that allows for VMs to run:

Plug In / Verify NIC Ports
From a server networking standpoint I will be using 1x 1G port to be the hypervisor management port, and 1x 10G port will be dedicated to all the VMs traffic.
You can make sure they are plugged in, online, and running at the correct speed from System -> Overview -> Network Devices:

Idle Power Consumption Example
For reference here is what my configuration looks like from a power standpoint at idle, running on a standard 120v wall outlet in my basement with both PSUs plugged in (I shut it down via iDRAC when it’s not in use):

This concludes setting up the R740 hardware.
Leave a Reply