Before deploying nested hypervisor clusters you are going need a DNS server to provide hostname resolution. If you are going to be exploring Hyper-V like I am you will also want a basic AD server and a place to run the Windows specific admin tools.
For my lab I am going to use a single Windows Server VM to be my DNS + AD + Windows workstation. This section will walk through installing Windows Server 2025 inside of a Proxmox VM and setting up AD/DNS/various admin tools I use in my lab.
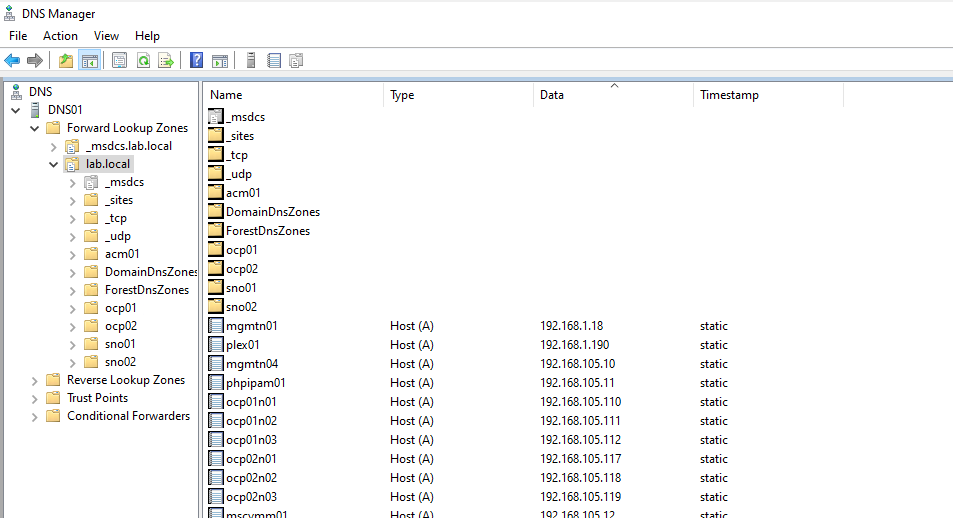
Here is what our lab will look like at the end of this post:

Download Required ISO Files
I am going to use the evaluation edition of Windows Server 2025 since it comes with a 180 day eval license that can be re-armed multiple times. Grab the ISO directly from Microsoft:
Upload the ISO to your Proxmox server – I am going to upload it to my data1:

You will also want to download the VirtIO drivers ISO and upload that to data1. We will need it to be able to use the more performant VirtIO VM hardware for our Windows VM as Windows doesnt have these drivers by default. You can download the VirtIO drivers here:
Index of /groups/virt/virtio-win/direct-downloads/archive-virtio

Create the Windows Server VM
Right click on your Proxmox server and select Create VM to launch the Wizard:

In the General section I’m going to call my DNS server dns01, have it turn on when Proxmox turns on, and I’m going to give it a tag of “lab-mgmt”:

In the OS section set the OS to Windows Server and provide both the ISO files:

In the System section set data1 as the location for the virtual EFI and TPM disks, choose VirtIO SCSI as the SCSI Controller, and enable the Qemu agent:

In the Disks section set the Bus to VirtIO Block, the storage to data1, give a size (I’m using 240G for all VM boot disks) and make sure to check Discard:

In CPU give you VM however many vCPUs you want – I am going to start off with 4x vCPUs:

In the Memory section I am going to allow memory ballooning and give my VM 8GB of memory with 4GB being the minimum:

In the Network section make sure to choose your 10G Linux Bridge, and since I don’t want to do any VLAN tagging inside the VM I am going to set the VLAN tag on the vNIC to my management network 105:

When Ready you can easily boot the VM from its Console. I do it this way so I can catch the early prompts on booting from the ISO and not miss the press a key to launch the Windows Installer prompt:

Install Windows Server 2025
Once the VM has completed booting from the ISO and you have selected your language/keyboard layout choose Install Windows Server and check I agree:

Since this is an Eval in a lab choose “I don’t have a product key” and then manually select the Windows edition. I am going to use the Desktop Experience so that my Windows Server VM has a GUI for ease of use:


When you get to the Install Location section we will need to load the VirtIO storage driver to see the 240G boot disk:

Browse to the VirtIO CD ROM -> amd64 -> 2k25 folder to get the driver:

Highlight the driver and click install:

You will now be able to click Disk 0 as the installation location for Windows:

Kick off the Windows Install which will take some time to complete:

Use the consoles virtual keyboard to perform CTL ALT DEL once Windows is done installing to get to the desktop:

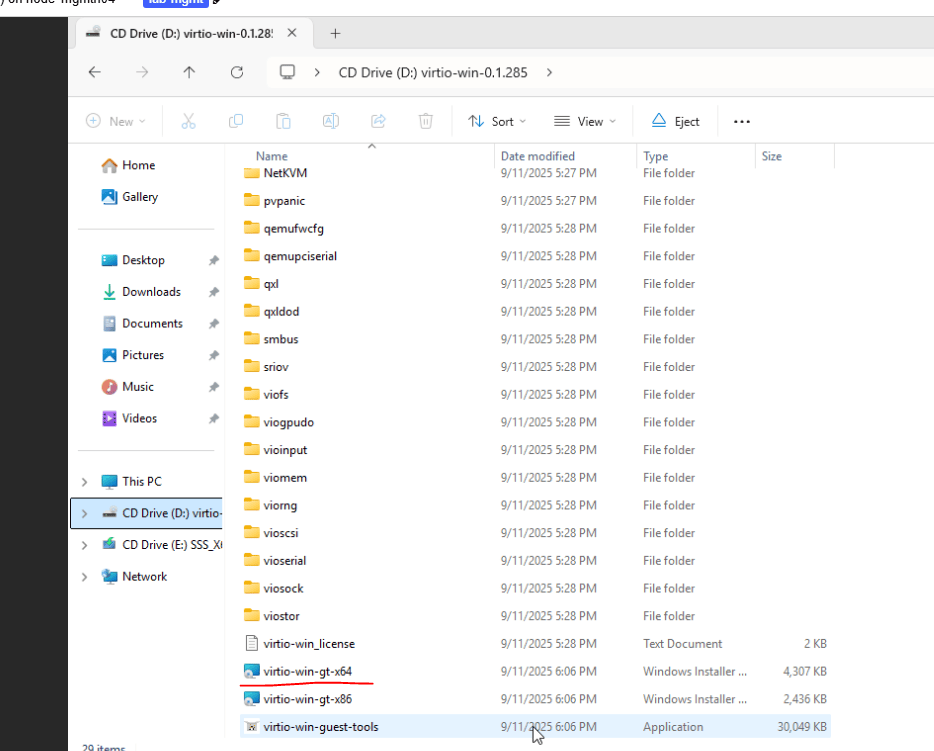
First lets install all the VirtIO drivers so that Windows knows how to use the VM hardware. Go to the D:\ drive which should be the VirtIO ISO and launch the virtio-win-gt-x64.exe:
Leave all the defaults which will install all the drivers:

When the drivers are done launch the virtio-win-guest-tools.exe to install the Qeumu Agent:


Once that is done reboot the VM to complete the base installation of Windows Server 2025 inside the VM:

Configure VM Networking
Once Windows is done rebooting click on the NIC from Server Manager to set a static IP for your DNS server. Mine will be 192.168.105.5 for this example. I am also going to set a DNS server and disable IPV6:


Next I’m going to set a hostname, enable RDP, and set my timezone:

Update Windows Server
I’m also going to run Windows Update now that I have set a static IP:

Install AD and DNS Roles
After Windows Updates are installed reboot the VM. Once the VM is back online it’s time to add the AD and DNS roles from Server Manager by going to Manage -> Add Roles and Features:

Click through the wizard until you get to Server Roles and check off Active Directory Domain Services and DNS Server:

Then click Next all the way to the end and install the two roles:

Once the roles are done install click the link to “Promote this server to a domain controller”:

I am going to make my lab domain be lab.local:

I will be using only Server 2025 for my Windows VMs and Hyper-V testing so I am leaving the functional level at 2025:

Ignore the delegation error and click Next, we will setup the DNS portion after this wizard completes:

For the rest of the wizard click next with all the defaults until you get to the final page and click install:

Finish Configuring DNS
Once the VM reboots you can now log in as the domain admin account lab\administrator and we will finish configuring the VM:

Once logged in open back up your NIC settings and add an alternate DNS server entry below the 127.0.0.0 that was added as part of the role:

Now from Server Manager -> Tools launch the DNS tool:

Next Right Click on the Reverse Lookup Zones and click New Zone:
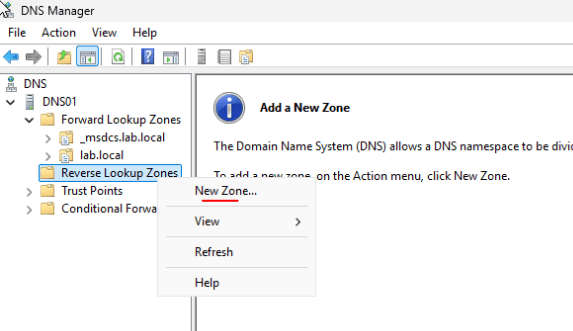
Make a new primary zone for you management network – mine is VLAN 105 – 192.168.105.0/24:


That concludes setting up the AD/DS server for now – I will add DNS entries as I am planning out the hypervisor clusters in future posts.
Install Useful Tools
Throughout my guides you will see me using the following tools for various admin tasks when I am on my Windows workstation:
- Notepad++ for text/script editing: Downloads | Notepad++
- mRemoteNG for RDP/SSH sessions: Release v1.76.20 · mRemoteNG/mRemoteNG · GitHub
- Putty for one-off ssh sessions:Download PuTTY: latest release (0.83)
- WinSCP for file transfer: WinSCP :: Official Site :: Download
- PowerShell 7 for API calls: Install PowerShell 7 on Windows – PowerShell | Microsoft Learn
Leave a Reply