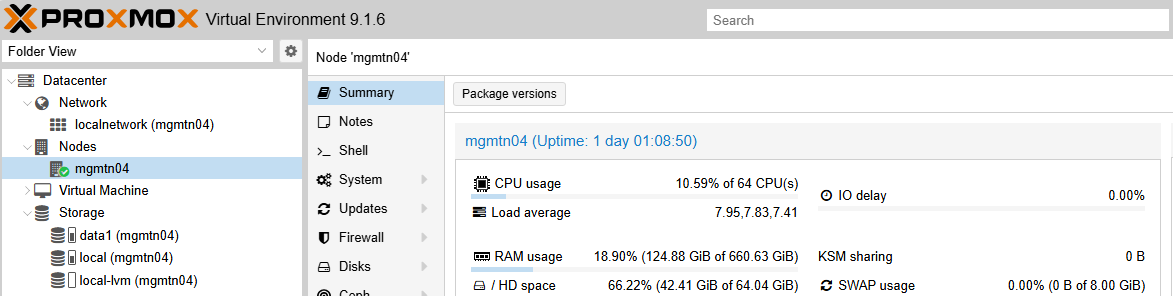
In this section I will review how I set up Proxmox on my R740 to be my base hypervisor that will run the nested environments later. In this section I will install Proxmox, setup the Proxmox networking, and setup the Proxmox storage to be ready for VM workloads.
I ended up choosing Proxmox for the following reasons:
- Nested VM Support: Proxmox supports out of the box running VMs with nested virtualization enabled using the “Host” vCPU type.
- Nested VM Networking Support: Proxmox supports out of the box being able to tag VLANs inside of VMs and team NICs inside of VMs with VLAN Aware Linux Bridges and vNICs as trunk ports. This allows us to configure the nested hypervisors just like we would physical servers and essentially pretend they are not VMs from a networking standpoint.
- GuestOS Support: Proxmox not only has the VM hardware required to run Windows/Linux VMs, but it also has the specific emulated hardware types available to also be able to nest ESXi. This gives us a single platform that can run nested clusters of vSphere, OpenShift Virtualization, Hyper-V, and all the other KVM variants. It was important for me to be able to nest VMware so that it can be my “source” environment for V2V VM migrations.
- Advanced VM Hardware Editing: Proxmox supports adding additional fields to the VM hardware config files so that you can set virtual hardware settings like service tags, disk serial numbers, etc to further make nested hypervisors appear more like physical servers when required.
- VM Backup: Proxmox also comes with a simple backup functions that is great for backing up VMs after you have gone through all the work of setting them up for nesting.
- Open Source: Being Open Source means for a lab environment we can have a full featured hypervisor without worrying about trial licensing expiring at the base hypervisor layer.
- Ease of use: Proxmox is very easy to install, setup, and use without having to know much CLI.
Instal Proxmox
I am not going to cover the process of actually installing Proxmox onto the BOSS drive (or a single SSD if you dont have BOSS) on the R740 since this is an easy and straightforward process covered here: Installation – Proxmox Virtual Environment
I will be using iDRAC’s Virtual Console to remotely mount the Proxmox ISO for the install and to instruct the server to boot from the virtual CD ROM on next boot. Make sure to not use the iDRAC over USB option to mount the ISO, you want to do it over the 1G iDRAC port:


My Proxmox host will be named mgmt04, and during install it used DHCP on my untagged network to get its temporary management IP. Once your install has completed, and Proxmox has booted up, log into the Web GUI using the address displayed in the Virtual Console (mine is a temporary DHCP IP from the untagged VLAN):

Configure Proxmox Networking
Once you have logged into the Web GUI navigate to the System-> Network to first configure the 1G and 10G NIC ports on the server:

In my install “eno1” is my single 10G port I have available for VM NICs, and “eno3” is my single 1G port I have available for Proxmox management. You can determine this by comparing the MAC Address in iDRAC to the Alternative Name in Proxmox:


I am just using simple trunk ports for everything so I wont be covering any Proxmox bonding/NIC teaming as the goal for this lab is to have a simple platform to run nested VMs:
Start by making both eno1 and eno3 have Jumbo Frames enabled, make sure Autostart is enabled for both NIC ports, and give them a comment so you know at a glance the NIC speed:


Next I am going to create a VLAN 105 interface with eno3 as the base device to be my Proxmox permanent management IP address of 192.168.105.10:


Now lets create a Linux Bridge using the 10G port eno1. The Linux Bridge is going to be what all the VM NICs will connect to for the physical network and VLAN access:

I’m going to name my bridge “br1” since Proxmox likely make a default br0 for you (I cant remember if it does or not). I’m going to make it VLAN aware (IMPORTANT), enable Jumbo Frames with MTU 9000, and allow all VLANs for simplicity:

These settings on the Linux Bridge will allow our VMs to have VLANs tagged inside them, essentially making the Linux Bridge like a virtual switch. The nested VMs will be able to also use in-guest Bonding/Switch Embedded Teaming/NIC teaming with VLANs by doing this. Now apply the networking config changes to Proxmox using the “Apply Configuration” button:

Once applied here is how my network configuration looks:

Next go to the System -> DNS section and put in your DNS servers. Since I will be building my lab DNS server in a VM on-top of Proxmox in the next section for now I am going to use Google DNS so that Proxmox can reach its update servers:

Configure Proxmox Updates
Now that we have networking and DNS setup go to the Updates -> Repositories section so we can configure updates for a Proxmox server using the community license. Disable the ceph-squid repo (I am using local SSDs or HW RAID in this config) and the pve-enterprise repo if you are using the free version like me. Then add the “No Subscription” repo using the Add button. This will enable your server to get updates from the Proxmox update server, and it should look like this when you are done:

Now go to Updates and install any updates required for your install (and reboot if required):


Configure Proxmox Storage
After the updates are completed and you have rebooted (if necessary) lets create our VM storage location. Under Disks you will be able to see the physical drives:

“sdb” is my BOSS RAID1 virtual disk where Proxmox was installed. You will see it automatically has a directory created called “Local” that you can use. In my case its very small so I only use Local to hold some ISOs:


“sda” is my RAID10 virtual disk, and I will use it to create my VM storage location:

Since its already a RAID protected device I am going to just create a Directory on it called “data1” from Disks -> Directory. I chose to format it as xfs. It will automatically be mounted into /mnt/pve/ after its done being created. By making the disk a Directory we will be able to store all types of files and VM disks in data1:

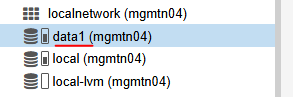

At this point the Proxmox host is ready for the Nested VM workloads.
Leave a Reply