In this section we will deploy a Nutanix Prism Central VM onto our AHV cluster since Prism Central is the multi-cluster manager similar in some ways to vCenter. It will also run as a double nested VM in this scenario, but if you do have problems you can deploy it directly onto Proxmox with the QCOW image Nutanix also provides:

Keep in mind this is a nested hypervisor cluster so the CVMs will actually be double nested (VM running inside VM) so expect high latency numbers and slower operations. The goal of this lab is not performance but instead trying out functionality.
To start you may need to download the latest Prism Central installation binary and the metadata file from your Nutanix account:

Once those are downloaded log into Prism and from the Dashboard click Register or deploy a new Prism Central:

Choose Deploy:

You may not see any compatible versions depending on how may times you have LCM’ed your CE cluster. You can upload the installation binary and metadata file that was downloaded from your Nutanix account, and in a nested setup I’ve found this to be faster option if even you see available verisons. Click on the Upload Installation Binary link to upload them:


Wait for the Prism Central 7.5.1 to be uploaded and available:

Once the upload is complete give the Prism Central a name (ntxpc01 for me) and click next:

I am going to choose a “Small” deployment since this is the minimum size to be able to use the Data Protection features in Prism Central. I am also only going to deploy a single VM since this is a lab:

Put in all of your Prism Central networking information and click deploy:

Deployment will take quite a while since this is a double nested deployment so track progress from tasks:


Once completed we need to first log into Prism Central since it will prompt us to change the default password. Go to the Prism Central WebUI and log in with the default username admin and password Nutanix/4u at port 9440:
https://ntxpc01:9440/ui/iam/login?
Once you are logged into Prism Central clear out any left over Alerts from deployment:


Now that we have a clean Prism Central with the default password changed go back over to the clusters Prism Element and click on the Register or deploy new Prism Central again:

This time choose Connect and put in your Prism Central hostname or IP address and credentials and choose Connect:


Once that task completes you will now see that the cluster is registered to Prism Central:

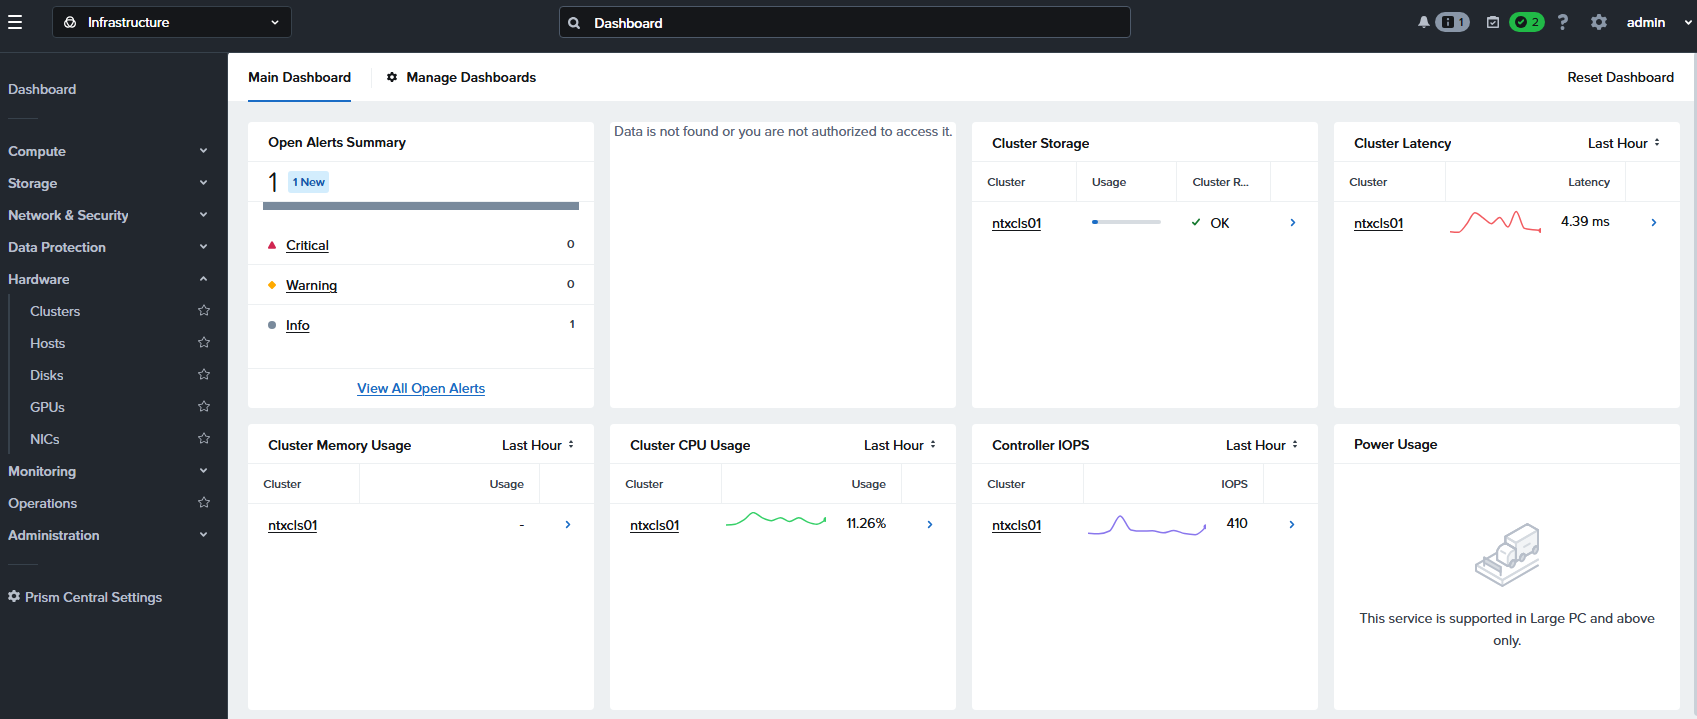
Back in Prism Central after a few minutes you will see the cluster show up on the dashboard:

As a final basic configuration step SSH into the Prism Central VM using the default username nutanix and password nutanix/4u so that we can change the default password. If you don’t you will eventually get an alert in Prism Central for this.
To change the password just use the same command we did for the CVMs:
sudo passwd nutanixWhile you are in the cli you can also set the name for your Prism Central instance:
ncli cluster edit-params new-name="ntxpc01"ncli cluster edit-info new-name="ntxpc01"
This concludes the Prism Central basic deployment!
Leave a Reply