In this section I will review the prep work I did in my lab to get ready to deploy the Nutanix Cloud Platform into three nested VMs as a compute only based cluster on Proxmox, instead of three physical servers.
Unlike in Part 2 where we used HCI storage for the cluster in this section I will be using using external Dell storage for my VMs instead of HCI based storage.
To deploy a compute only cluster with external storage we have to use the standard Nutanix code instead of Community Edition as CE only supports an HCI deployment.
Before we deploy the cluster we need to plan out our AHV VM hardware, logical networking, IPs, DNS entries, and create the three Proxmox VMs.
Virtual Machine Node Hardware Planning
I am going to mock up my three virtual machines to be configured similar to how it would look if I had physical servers. The VM hardware will look like this when we make the VM towards the end of the post:
| AHV Node | CPU | Memory | AHV/CVM Drive | NIC Ports |
| 1 | 2x 16c | 72GB | 1x 960GB | 4x 10G |
| 2 | 2x 16c | 72GB | 1x 960GB | 4x 10G |
| 3 | 2x 16c | 72GB | 1x 960GB | 4x 10G |
VM Network Planning
I will be using the 4x 10G ports on each node to mimic a physical server that has 2x dual port 10G NIC cards.
Two of the 10G ports will be placed into a Nutanix Virtual Switch that will support the cluster networking and VM networks.
The other two 10G ports will be placed into a Nutanix Virtual Switch that will support the external storage traffic and connect the cluster to the external Dell storage.
The node networking layout will end up looking like this per node:
| Physical Port | Usage | VLAN Mapping |
| NIC Port 1 NIC Port 2 | vs0 | 105 (mgmt network), 300 (test VMs) |
| NIC Port 3 NIC Port 4 | vs1 | 151 (data 1 network), 152 (data 2 network), |
Logical Network Planning
For the logical networking I will be assigning static IP addresses for AHV, CVM, cluster services, a Nutanix Move VM for V2V migraitons, a Nutant Foundation VM to build the cluster, and a Prism Central VM for multi-cluster management. The VM networks don’t need static IPs since the vNICs will be connected directly to those VLANs.
Here are the IP addresses I will be using for each node:
| Hostname | IP Address |
| ntxahv01 (node 1 hypervisor) | 192.168.105.31 |
| ntxcvm01 (node 1 CVM) | 192.168.105.33 |
| ntxahv02 (node 2 hypervisor) | 192.168.105.33 |
| ntxcvm02 (node 2 CVM) | 192.168.105.34 |
| ntxahv03 (node 3 hypervisor) | 192.168.105.35 |
| ntxahv03 (node 3 CVM) | 192.168.105.36 |
These will be the cluster IP addresses:
| Hostname | IP Address |
| ntxcls01 (Cluster floating IP) | 192.168.105.37 |
| ntxcls01 Data IP (Cluster Data Services) | 192.168.105.39 |
These will be the Nutanix specific management VM IP addresses:
| Hostname | IP Address |
| ntxfoundation01 | 192.168.105.30 |
| ntxmove01 (Move) | 192.168.105.40 |
| ntxpc01 (Prism Central) | 192.168.105.38 |
DNS Entries
We need to create DNS entries for all the VLAN 105 hostnames. On my Windows DNS server creating these looked like this:

Download Nutanix ISOs/QCOWs
To perform this type of nested deployment you will need to download the following from your Nutanix account in order to get the 3N compute cluster online:
- AOS 7.5.1.1 ISO + metadata json
- AHV 11.0.1 ISO
- Foundation Central 2.1 QCOW
These can all be downloaded from your Nutanix Account, and will be used in the next two posts when we deploy Nutanix Foundation and then Build the Nutanix cluster.


Upload the AHV 11.0 ISO
In order to create our VMs in the next section we need to upload just the AHV ISO to Proxmox. Since our VMs do not have an ipmi/iDRAC we will be manually imaging them with the AHV ISO and adding them to Foundation Central to finish the initial cluster creation:

Create AHV VMs in Proxmox
Now that we have everything mapped out lets create the three VMs on our Proxmox host.
He is how I configured the VMs::
- UEFI BIOS
- Secure boot disabled
- Q35 Machine Type
- Use SATA disks with SSD emulation enabled.
- SMBIOS set with a Server Type and Service Tag
- vNICs untagged so that all VLAN tagging is done from AHV/Prism.
Start by creating a new VM. Under General I will be calling my VMs “ntxahv0X-external” since I also have the same hostnames used in my previous (but powered down) HCI deployment:

Under OS leave it as Linux and select the AHV ISO:

Under System choose q35 for the machine type, UEFI for the BIOS with an EFI disk stored with the VM disk, and VirtIO SCSI for the SCSI controller:

Under Disks we need to a single 960GB disk for AHV/CVM to boot from. Make sure its the SATA type, has SSD emulation enabled, has Discard enabled, and is stored on your data1:

Under CPU give the VM two sockets, 16 cores per socket, and set the CPU type to Host so AHV can see the virtualization extensions. Adjust based on your physical server:

Under Memory give your VM 72GB (or less if you don’t have enough memory in your Proxmox host). I am also going to enable ballooning to see if that will work but it may not:

For Network leave the default NIC for now since we will make modifications after the VM creation wizard. Do not tag a VLAN here as we will do all VLAN tagging from the AHV/Prism side:


Once the VM is created navigate to its Hardware and add 3x more NICs so that you end up with net0-net3:

Next edit the VM’s SMBIOS settings to give the VM a server identifier and serial number (service tag). If you dont do this you will not be able to use Foundation Central as it will break the cluster creation workflow:

Clone two more copies of the VM so that you can make the three node cluster. After cloning make sure to edit the SMBIOS Serial number to be different, otherwise it can cause issues with the installer:
Next boot up each VM one at a time, hit escape to get to the boot menu, and chose EFI Firmware Setup:


Once you are in the BIOS menu choose Device Manager:

Then choose Secure Boot Configuration:

And uncheck Secure Boot:

Then navigate back to the main BIOS menu and choose Continue:

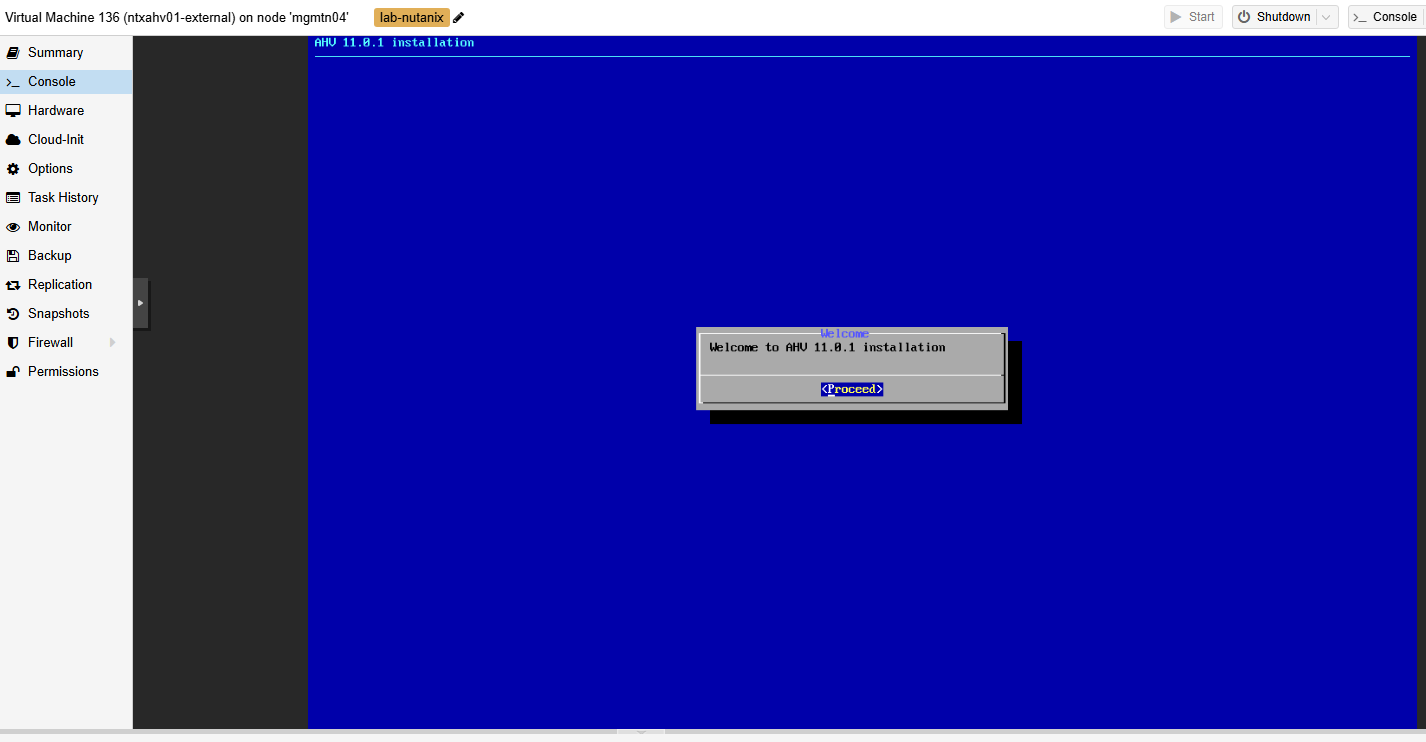
Now when your VMs boot after the BIOS change they will be able to boot off the installer ISO – continue into the installer:

Once the VMs have booted into the installer pause here since we need to deploy Foundation Central before continuing:

This concludes all of the planning/VM setup for our three node external storage based Nutanix cluster’s VM hardware. In the next section we will setup and configure Foundation Central since we need that running before we install AHV onto these nodes.
Leave a Reply