In this post we will deploy Foundation Central onto our Proxmox host along side the three AHV VMs we created in the last post. We will then configure it to the point where we can use it to create our external storage based Nutanix cluster in the next post.
Upload QCOW and Create the VM
The first thing we need to do is upload the Foundation Central QCOW to Proxmox so that it can be used to create the VM. Unlike uploading an ISO this needs to be done by SCP’ing the file directly to the Proxmox data volume. I will be using WinSCP to copy the file over, and I will be storing it (and all my downloaded QCOW images) in the default “dump” folder that got created on my “data1”. This can be found for me under “/mnt/pve/data1/dump”:

Once the QCOW is uploaded we need to create a VM to attach it to from the Proxmox WebUI.
Here is how I created the base VM:


Once the VM is created take note of its VM ID since we need to use that with a Proxmox CLI command to attach a copy of the QCOW image as the boot disk:

Use the Proxmox Shell to import the QCOW like this:
qm importdisk 139 /mnt/pve/data1/dump/Foundation_Central_VM-2.1.qcow2 data1

Once its done importing go back to the VM’s hardware settings, select the new Unused Disk, and set it as disk 0 with the Edit button:


You can also convert it from a .RAW back to a .QCOW by highliting the disk and choosing Move Storage:


Once its done converting back to a QCOW navigate to the VM options and set the QCOW disk as the boot disk:

Configure Prism Central VM
Now go to the VMs console and boot it up. One the VM is done booting we can configure it by running the setup Wizard:

This will allow you to set the static IP information (mine is 192.168.105.30) as well as set DNS and default passwords:


Once the wizard is complete you should be able to launch the WebUI and login with the username admin and the password you set:


Upload AOS Files
Now that Foundation Central is running the first thing to do is upload the AOS file and metadata file. Since we are manually imaging the nodes with the AHV ISO we only need Foundation Central to have the AOS code since it will be what creates the CVMs and the cluster.
Navigate to Image Management and click Upload Image:

Upload both of the required files and wait for the upload to complete:


Create a Claim Token for the AHV Install
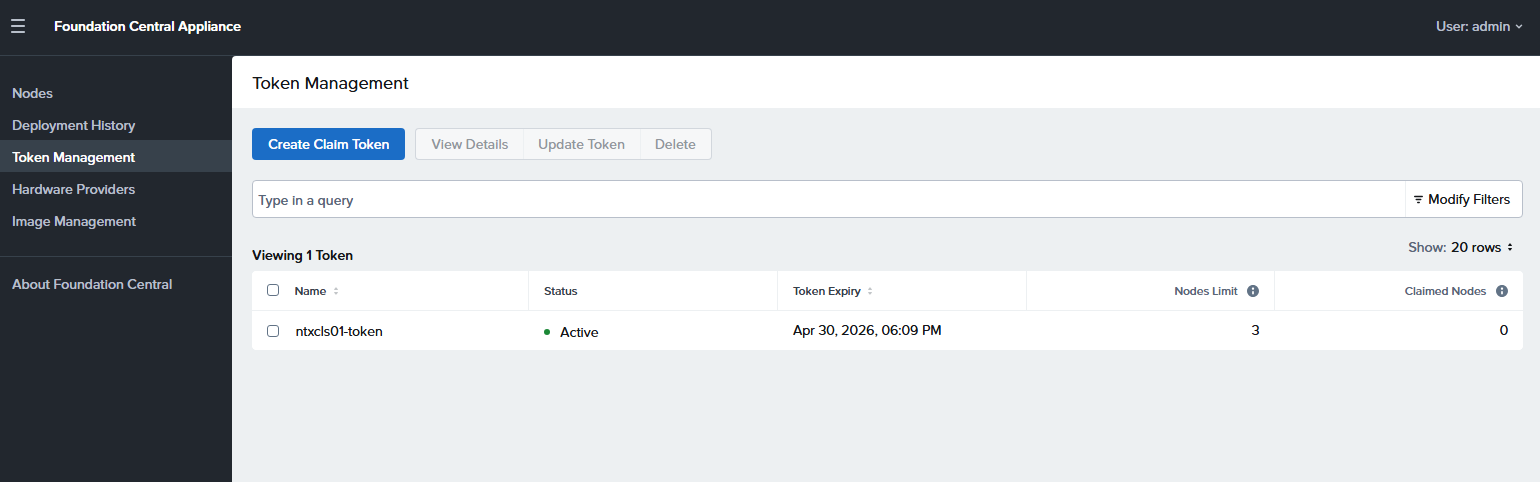
Next navigate to Token Management -> Create Claim Token and create one for 3 hosts:


Remember this token as we will need to put it into the AHV installer that is waiting on each host from the last post.

This concludes the basic setup of Foundation Central. In the next post we will install AHV onto the three Proxmox VMs using the claim code, and then use Prism Central to build the compute cluster.
Leave a Reply