In this section we will use the AVH ISO with the Prism Central claim token to install AVH into our three Proxmox VMs. Then we will use Prism Central to build the Nutanix cluster. Finally we will base configure the cluster and get it ready for external Storage.
By the end of this post our lab will look like this (the source ESXi environment was setup in Part 1):

Install AVH into Proxmox VMs
To start make sure your three VMs have booted successfully into the AHV installer and click Proceed:

You should only see the 960GB boot disk so select that and click Ok:

Put in your AHV IP information and make sure to tag your management VLAN here:

Next select only two of the NIC ports to be used for the default virtual switch (vs0). We will create a second virtual switch for the external storage traffic once Prism Element is online:

Since we are nesting our hypervisor leave the default Active/Backup bond mode selected:

I’m going to have the VM reboot after install:

Select Yes for enrolling the host into Prism Central:

Provide the Prism Central IP address and the claim token that you generated when you setup Prism Central in the last post:


Proceed with the installation and make sure to repeat on all three VMs:


Onboard AHV Nodes into Prism Central
Once the installer has completed and the VMs have rebooted into their boot disk log back into Prism Central. You should now see an alert that nodes are ready to be onboarded into Prism Central. Click View and Onboard nodes:

Select all three nodes and click Next:

Optionally choose to Tag the nodes and then Onboard them:

Build the AHV Cluster
Once the nodes are onboarded select all of them and click Create Cluster:

Give your cluster a name:

Put in the network information for your cluster:

Put in the CVM IP addresses:

Choose the AOS image since Foundation Central will be deploying the CVMs are part of building the cluster:

Lastly put in the CVM size, Time Zone, and NTP servers for the cluster and start the deployment:

You can click into the progress to keep tabs on the install, which will take a bit since its nested:


Once the cluster is done installing you can launch Prism Element:

Base Configure Nutanix Cluster
Log into Prism with the default username admin and password Nutanix/4u and set a new password:

Once into Prism choose “I’ll do it later” for the external storage setup since there are tasks we will want to do first before attempting that.

To start lets change all the default passwords since you will be getting health alerts for those soon (you can also do this from Prism Central later).
To do this SSH into one of the CVMs with the default user nutanix and password nutanix/4u and run the commands below one at a time. These will propagate to the other nodes in the cluster so only run them once:
sudo passwd nutanixecho -e "CHANGING ALL AHV HOST ROOT PASSWORDS.\nPlease input new password: "; read -rs password1; echo "Confirm new password: "; read -rs password2; if [ "$password1" == "$password2" ]; then for host in $(hostips); do echo Host $host; echo $password1 | ssh root@$host "passwd --stdin root"; done; else echo "The passwords do not match"; fiecho -e "CHANGING ALL AHV HOST ADMIN PASSWORDS.\nPlease input new password: "; read -rs password1; echo "Confirm new password: "; read -rs password2; if [ "$password1" == "$password2" ]; then for host in $(hostips); do echo Host $host; echo $password1 | ssh root@$host "passwd --stdin admin"; done; else echo "The passwords do not match"; fiecho -e "CHANGING ALL AHV HOST NUTANIX PASSWORDS.\nPlease input new password: "; read -rs password1; echo "Confirm new password: "; read -rs password2; if [ "$password1" == "$password2" ]; then for host in $(hostips); do echo Host $host; echo $password1 | ssh root@$host "passwd --stdin nutanix"; done; else echo "The passwords do not match"; fiYou also likely have a password expiration warning in the Prism health checks like I did, so run the commands from that KB to fix it as well from a CVM:
NCC Health Check: password_expiry_check
hostssh 'chage -I -1 -m 1 -M 99999 -E -1 root'hostssh 'chage -I -1 -m 1 -M 99999 -E -1 nutanix'Back in Prism go to Health -> Run Checks and run for just the failed check:


You can also turn off checks you cant get rid of since it’s a nested lab to clear it out.
Next navigate to Settings -> Name Servers and add in your DNS server:

Next navigate to Settings -> Network Configuration -> Virtual Switch. To start I am going to increate the MTU size on the default vs0 to 9000 to enable Jumbo Frames:


Wait for the rolling reboots to finish making this change to the default virtual switch:


Now lets create a second virtual switch named vs1 for the external storage traffic. Make sure to give it a MTU of 9000 and include the two unused 10G ports eth2/eth3:


Once vs1 is created click on Internal Interfaces so we can create the external data networks on each node:

My external storage VLANs are 151 and 152 so I will be creating an interface for each and make sure to set the interface for external storage and set the MTU to be 9000. Here is what it looks like to set up one of the two interfaces:


Wait for the first interface to create before doing the second. Once both are created it should look like this:

Next click on the Subnets tab and add a network for management VMs (VLAN 105 for me) and lab VMs (VLAN 300 for me):


Lastly click on the cluster name and set the Data Services IP since you will eventually need that to deploy Prism Central:


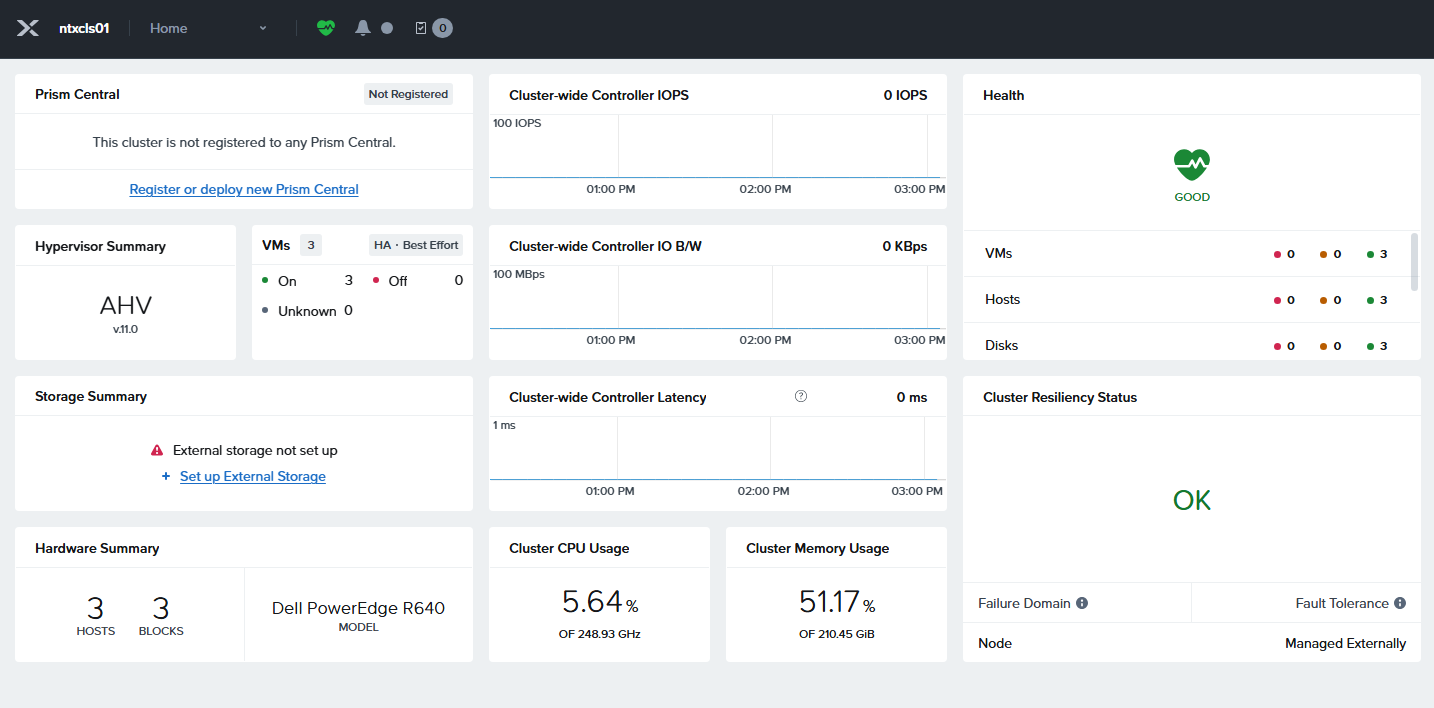
With that the cluster is ready for external storage, and you should have all the major alerts cleared:

This concludes the basic setup of the Nutanix cluster, and we are now ready to attach the external storage. In the next post I will walk through attaching to the external storage I have in my lab.
Leave a Reply